Special tool
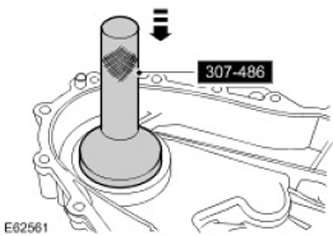
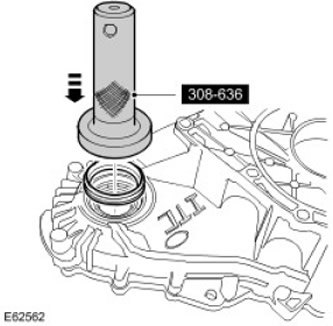
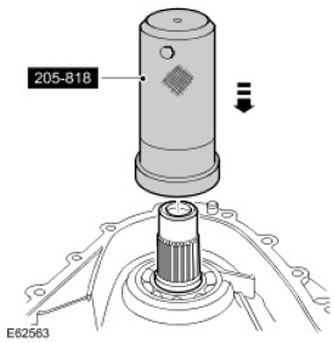
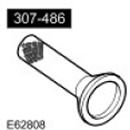 Mounting tool (LRT-41-019) 307-486 Mounting tool (LRT-41-019) 307-486 | 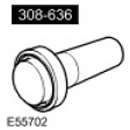 Installation tool 308-636 Installation tool 308-636 | 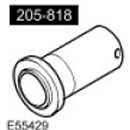 Installation tool 205-818 Installation tool 205-818 |
Removing
1. Disconnect a wire of weight from the storage battery. For more information refer to Specification.
2.
WARNING: It is forbidden to carry out work on a vehicle supported only by a jack. Always place secure supports under the vehicle.
Raise and support the vehicle.
3. Drain the fluid from the transfer case. For more information, refer to Draining Transmission Fluid from the Transfer Case and Filling Transmission Fluid into the Transfer Case (41.20.04)
4. Remove the transfer case. For more information refer to Transfer case - 4.0L (41.20.25.99)
5. With a second person, secure the transfer case to a flat surface with the transfer case contact surface facing down gears. Secure it with 2 screws.
6.
WARNING: Be sure to use eye protection.
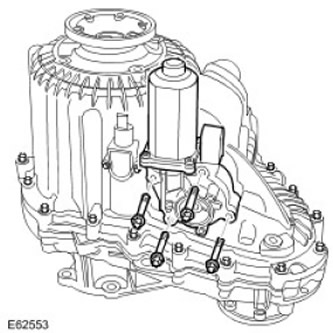
Remove the shift motor.
- Turn out 4 bolts.
- Remove debris from bolt holes.
7.
WARNING: Be sure to use eye protection.
Remove the 17 Torx bolts securing the transfer case housing.
- The 2 bolts shown in the figure must remain fully tightened.
- Remove debris from bolt holes.

8. With an assistant, disconnect the transfer case and secure it to a flat surface with the back of the transfer case down.
9.
WARNING: Be sure to use eye protection.
CAUTION: Be careful not to damage mating surfaces.
Remove the front half of the transfer case.
- Remove the 2 remaining Torx bolts
- Remove debris from bolt holes.
- Use a soft-headed hammer.
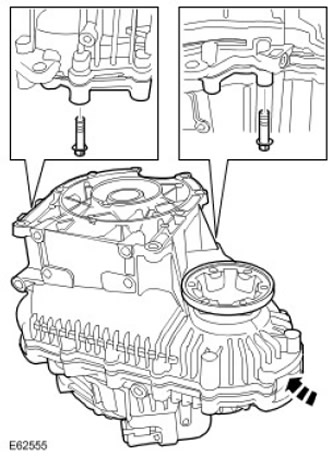
10.
ATTENTION: Mark the installation positions of the special washers.
Remove 2 special washers.

11. Remove input shaft and oil pump assembly. Remove the fluid pump intake tube.
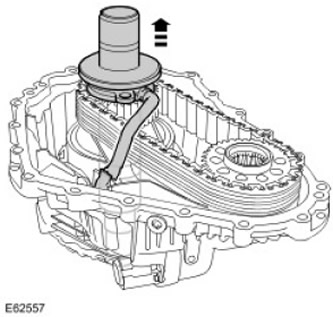
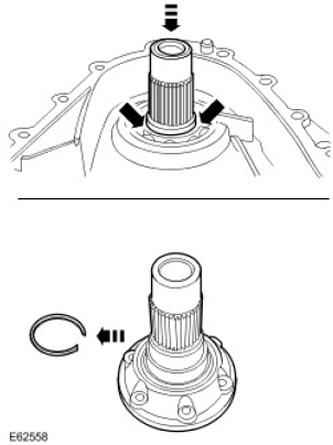
12. Remove the front outlet flange.
- Squeeze the retaining ring.
- Push the flange through the bearing.
- Remove and discard retaining ring.
13.
CAUTION: Be careful not to damage the sliding surface and the seal guiding surface.
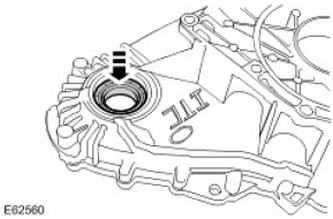
Remove the outlet flange seal.

14. Remove the output flange bearing.
Installation
1. Remove the sealant from the contact surfaces of the transfer case.
2. Clean the magnetic filter.
3.
CAUTION: The rounding on the bearing inner ring must face the seal.
Using the special tool, install the output flange bearing. Clean the mating surfaces of the parts.
4. Using the special tool, install a new oil seal.
- Clean the contact surfaces of the parts.
- Lubricate the new seal.
5.
CAUTION: Before installing the outlet flange, center the circlip in the circlip groove.
ATTENTION: Be very careful, the retaining ring must enter the bearing at a right angle.
Together with the assistant, using a special tool, install the drive flange.
- Clean the contact surfaces of the parts.
- Install a new retaining ring.
- Make sure the circlip is fully engaged and secures the drive flange.
6.
CAUTION: Make sure the washers are installed correctly.
Install 2 special washers. Clear the details.
7.
CAUTION: Make sure the oil pump is installed on the dowel pin.
Install the input shaft and oil pump assembly.
- Clear the details.
- Attach the hydraulic fluid pump intake tube.
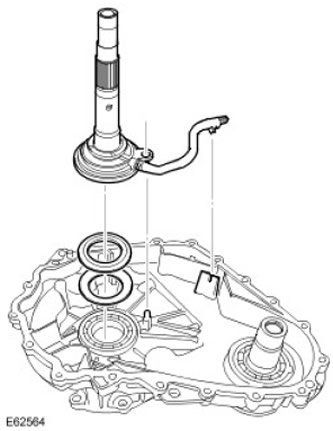
8. Apply a 2 mm bead of sealant to one of the transfer case contact surfaces as shown.
- Clean the contact surfaces of the parts.
- Clean pins and pin holes.

9. Install the front half of the transfer case. Tighten the 2 Torx bolts evenly to a torque of 35 Nm.
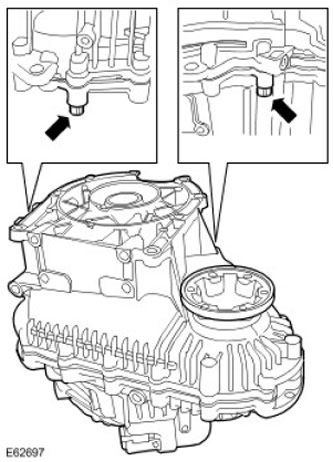
10. With the help of an assistant, disconnect the transfer case and secure it on a flat surface, turning the contact surface with the gearbox down.
11. Tighten the remaining Torx bolts to 35 Nm.
12. Install the shift motor.
- Clear the details.
- Tighten the Torx bolts with a tightening torque of 25 Nm.
14. Install the transfer case. For more information refer to Transfer case - 4.0L (41.20.25.99)
15. Fill the transfer case with the recommended fluid. For more information, refer to Draining Transmission Fluid from the Transfer Case and Filling Transmission Fluid into the Transfer Case (41.20.04)
16. Connect a wire of weight to the storage battery. For more information refer to Specification.
Comments on this article