Special tool
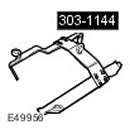 Winch for engine lifting 303-1144 Winch for engine lifting 303-1144 | 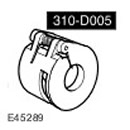 Spring release tool 310-D005 Spring release tool 310-D005 | 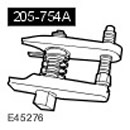 Ball joint puller 205-754 (LRT-54-027) Ball joint puller 205-754 (LRT-54-027) |
Removing
1. Put the car on a lift.
2. Disconnect the wire "masses" from the battery. For more information, refer to Specification
3. Fasten the hood in the service position.
4. Remove the battery tray. For more information, refer to Battery Mounting Shelf (76.10.30)
5. Remove the optional battery tray. For more information, refer to Additional Battery Shelf (76.10.31)
6. Remove the air filter assembly. For more information refer to Air Filter (19.10.01)
7. Remove the accessory drive belt. For more information refer to Drive Belt Accessories (86.10.03)
8. Drain the coolant. For more information, refer to Draining/Filling Coolant and Bleeding the Cooling System (26.10.01)
9. Disconnect the bottom hose of a broad tank of a cooling liquid. Release the clamp.
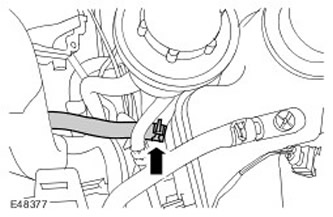
10. Disconnect the coolant hoses from the thermostat housing. Release 2 clips.
11. Disconnect the upper coolant hose assembly. Release 2 clips.
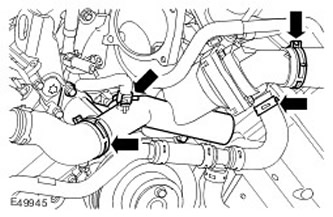
12. Disconnect the engine oil cooler coolant hoses.
- Release 2 clips.
- Remove the hose assembly.
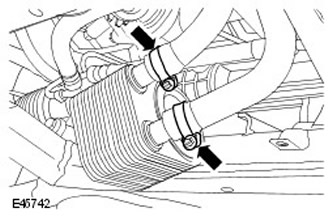
13. To gain access, move the hose assembly aside and tie it down. Turn out a bolt.
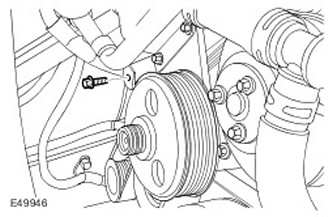
14. Remove the accessory drive belt tensioner. Turn out a bolt.
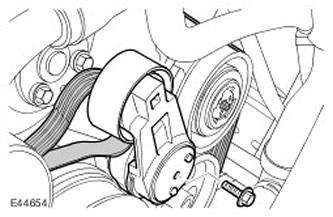
15. Remove mudguards of wings. For more information refer to Fender Mudguard (76.10.48)
16. Remove the exhaust system. For more information refer to Exhaust System (30.10.08)
17. Drain engine oil. For more information, refer to Draining and Refilling Engine Oil (12.60.05)
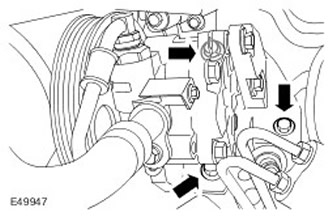
18. Disconnect the power steering pump, move it aside and tie it up. Turn out 3 bolts.
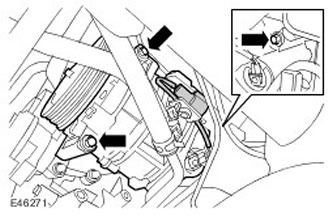
19. Disconnect the air conditioning compressor, take it aside and tie it up. Turn out 3 bolts.
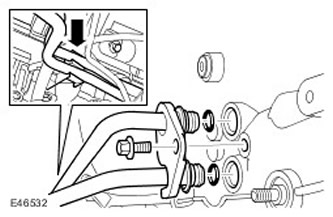
20. Disconnect pipelines of system of cooling of a transmission.
- Place a container to catch spilled liquid.
- Turn out a bolt.
- Release 2 clips.
- Move the transmission tubes to the side.
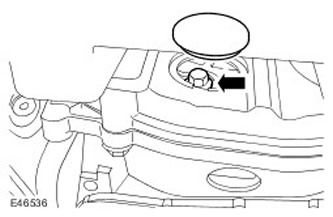
21. Release the faceplate.
- Remove the sealing sleeve.
- Rotate the crankshaft to gain access to the mounting bolts.
- Turn out 3 bolts.
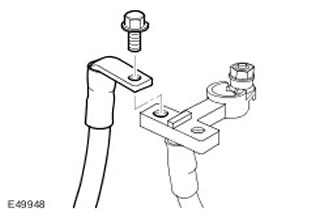
22. Disconnect the positive battery cable from the BJB.
- Turn out a bolt.
- Move the positive wire aside.
23. Disconnect the canister hose of the fuel vapor control system from the intake manifold. Move the hose aside to gain access.
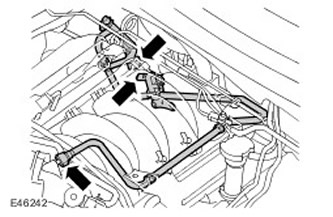
24.
CAUTION: Make sure the area around the contact surfaces is clean and dry before you start to disconnect or remove parts. Close all open connections to avoid contamination of the system.
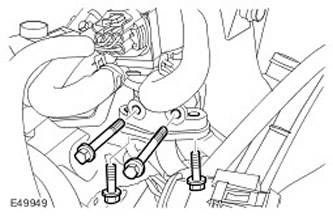
Move the EGR valve to the side.
- Turn out 4 bolts.
- Remove the gasket and discard it.
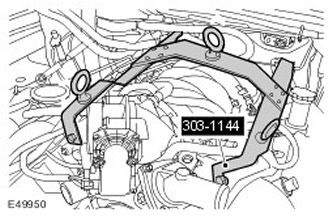
25. Install the special tool.
26. Disconnect the engine wiring harness.
- Release the cassette.
- Release and disconnect 2 electrical connectors.
- Turn out a bolt of a wire of weight.
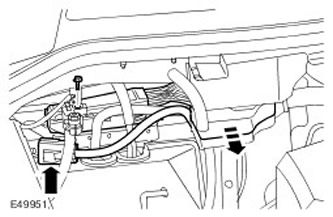
27. Disconnect the brake booster vacuum hose from the intake manifold.
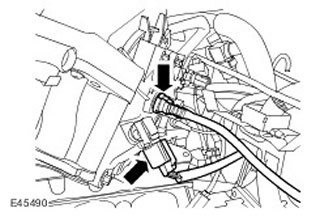
28. Relieve pressure in the fuel rail. Place an absorbent cloth to collect the spilled liquid.
29. Using the special tool, disconnect the fuel line. Move the fuel supply line to the side.
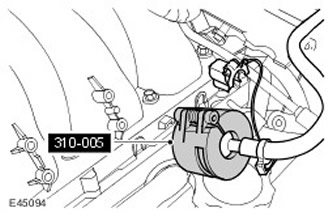
30. Release the heat shield mounting to gain access to the gearbox mounting bolts.
- Turn out 2 bolts.
- Move the screen to the side.
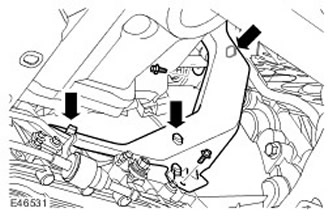
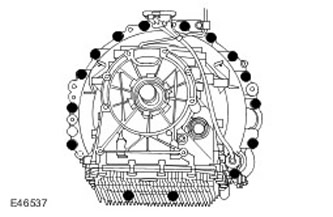
31. Turn out bolts of fastening of a transmission.
- Support the gearbox.
- Remove 16 bolts.
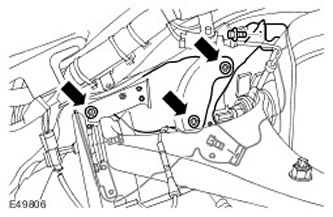
32. To provide access, remove the heat shields of the upper suspension arm and brake line.
- Turn out 3 bolts.
- Loosen 3 nuts.
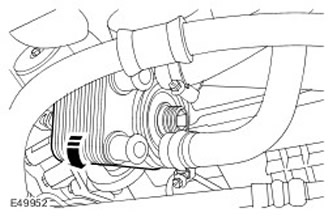
33. Loosen the hex bolt and rotate the engine oil cooler to the side for access.
34. Turn away 2 nuts of support of the engine.
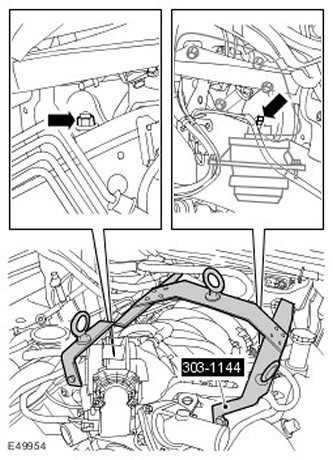
35. Disconnect the engine from supports and a transmission.
- Attach lifting chains.
- Raise the right side of the engine approximately 35 mm.
- Turn out 4 bolts of fastening of an arm of a support of the engine to the block of cylinders.
- Disconnect the engine ground wire from the right support bracket.
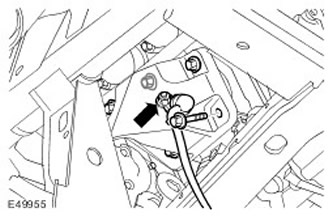
37.
CAUTION: Make sure the torque converter remains attached to the transmission.
CAUTION: Be careful not to damage the steering rack and differential.
Carefully and gradually lift and remove the engine.
38. Disconnect the lifting chains.
Comments on this article