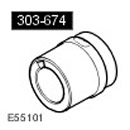
Special tool
 Tool for turning the crankshaft 303-674 Tool for turning the crankshaft 303-674 |
Removing
NOTE: This section covers removal and installation of the following parts: primary timing chain tensioner, timing chain guide, countershaft sprocket, crankshaft sprocket, and timing chain.
1. Disconnect the wire "masses" from the battery. For more information, refer to Specification
2. Remove the engine front cover. For more information refer to Engine front cover (12.65.01)
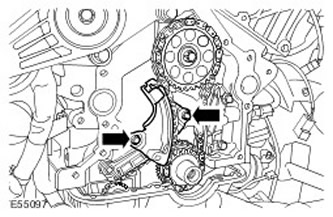
3. Remove the primary timing chain tensioner. Turn out 2 bolts.

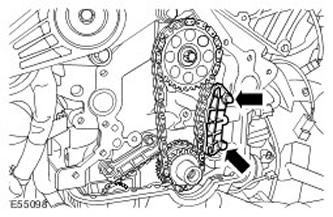
4. Remove the primary timing chain tensioner guide. Turn out 2 bolts.

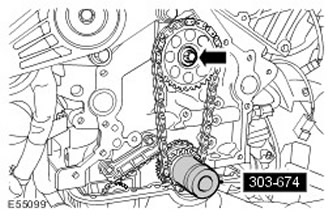
5. Install the special tool on the crankshaft.
6. Remove the intermediate shaft sprocket.
- Lock the countershaft sprocket using an additional wrench and special tool.
- Loosen and discard the Torx head bolt.

7.
NOTE: Write down the position of the part.
Remove the crankshaft sprocket. Remove the primary timing chain.

Installation
1. Install the primary timing chain.
- Clean the contact surfaces of the parts.
- Install the crankshaft sprocket so that the recess is on the side of the crankshaft.
- Install the special tool on the crankshaft.
- Clean the contact surfaces of the parts.
- Install the primary timing chain to the sprockets.
- Install a new Torx head bolt and lightly tighten it.
- Clean the contact surfaces of the parts.
- Tighten the bolts (tightening torque 20 Nm).
- Clean the contact surfaces of the parts.
- Tighten the bolts with a torque of 10 Nm.
6. Install the engine front cover. For more information refer to Engine front cover (12.65.01)
7. Adjust the valve timing. For more information, refer to Gas distribution
8. Connect the wire "masses" to the battery. For more information, refer to Specification
Comments on this article