Removing
WARNING: Do not carry or use a cell phone while working on or near any fuel related parts. The air contains flammable fuel vapors that can ignite. Failure to follow these instructions may result in personal injury.
WARNING: Do not repair the fuel injection system while the engine is running. Fuel pressure in the system can reach 1650 bar (23.931 psi inch). Failure to follow this instruction may result in injury.
WARNING: Do not smoke or walk with a lit cigarette or open flame of any kind while working on or in the vicinity of fuel related parts. There is a danger of ignition of flammable vapours. Failure to follow these instructions may result in personal injury.
CAUTION: This procedure involves contact with fuel. Always be aware of the possibility of fuel splashing and observe fuel safety precautions. Failure to follow these instructions may result in personal injury.
WARNING: Wait at least 30 seconds after stopping the engine before attempting any repair to the high pressure fuel injection system. Failure to follow this instruction could result in personal injury.
CAUTION: Before disconnecting or dismantling parts, make sure that the area around the contact surfaces and connections is clean. Plug all open connections to avoid contamination of the system.
WARNING: Diesel fuel injection equipment is manufactured to very precise tolerances and with very close clearances. Therefore, when working with these elements, it is especially important to observe absolute cleanliness. Open holes or lines must always be closed with plugs. Failure to follow this instruction may result in dirt entering the fuel injection system.
WARNING: Make sure that the workshop area where the vehicle is being worked on is thoroughly cleaned and free from dust. Dirt and dust from working on the clutch, brakes, or from machining or welding can contaminate the fuel system and lead to malfunctions later.
1. Disconnect the wire "masses" from the battery. For more information refer to Specification.
2. Drain the coolant from the cooling system. For more information, refer to Draining/Filling Coolant and Bleeding the Cooling System (26.10.01)
3. Remove the crankcase ventilation oil separator. For more information, refer to Engine Ventilation Oil Separator (17.10.04)
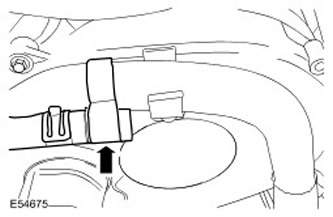
4. Disconnect the cooling air bleed hose from the left exhaust manifold inlet hose (EGR) for coolant. Release the fastening clip.
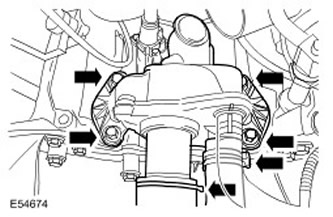
5. Remove the coolant elbow from the cylinder head.
- Release the two clamps and disconnect the hoses.
- Turn out four bolts.
- Remove and discard o-rings.
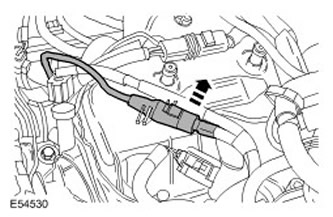
6. Disconnect the electrical connector of the knock sensors. Disconnect the knock sensor harness from the valve cover.
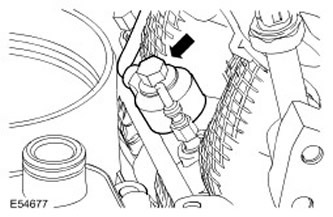
7. Remove the left knock sensor. Turn out a bolt.
8.
NOTE: Some fluid will inevitably spill during this operation.
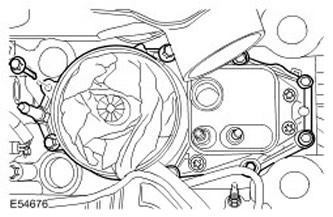
Remove the oil cooler.
- Remove eight bolts.
- Remove the gasket and discard it.
- Remove the O-ring and discard it.
Installation
1.
CAUTION: Make sure the gasket is installed correctly.
NOTE: Make sure the contact surfaces of all parts are clean.
Install the oil cooler.
- Install a new gasket.
- Install the sealing ring.
- Screw eight bolts and tighten them (tightening torque 10 Nm).
- Screw in the bolts and tighten it (tightening torque 20 Nm).
- Connect the knock sensor connector.
- Attach the knock sensor harness to the valve cover.
- Install new o-rings.
- Screw in the four bolts and tighten them (tightening torque 10 Nm).
- Connect the hoses and secure with clamps.
5. Install the crankcase ventilation oil separator. For more information, refer to Engine Ventilation Oil Separator (17.10.04)
6. Connect the wire "masses" to the battery. For more information refer to Specification.
7. Fill and bleed the cooling system. For more information, refer to Draining/Filling Coolant and Bleeding the Cooling System (26.10.01)
8. Check the engine oil level, top up if necessary.
Comments on this article