Special tool
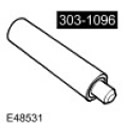
 Mounting tool for guide bearings (bearing a small load) /clutch adjustment 303-1096 Mounting tool for guide bearings (bearing a small load) /clutch adjustment 303-1096 |
Removing
1.
WARNING: It is forbidden to carry out work on a vehicle supported only by a jack. Always place secure supports under the vehicle.
Raise and support the vehicle.
2. Remove a transmission. For more information refer to Gearbox (37.20.02.99)
3.
CAUTION: Loosen the bolts gradually in a criss-cross pattern.
NOTE: Lock the flywheel.
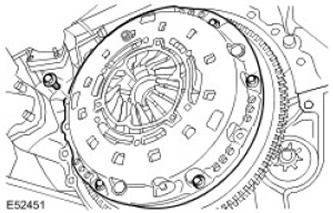
Remove pressure and driven clutch discs. Turn out 6 bolts.

Installation
1.
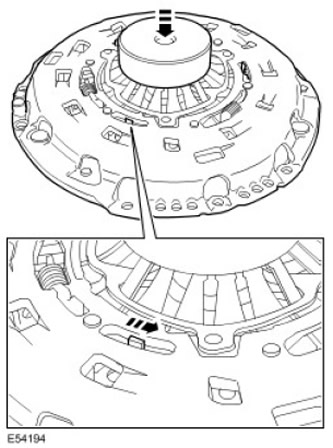
NOTE: The clutch cover is self-adjusting. The clutch disc and clutch cover are recommended to be replaced as a set. If a used clutch cover is fitted with a new clutch disc, the clutch cover must be adjusted before assembly. With the clutch cover resting on the outer edge, press the diaphragm evenly with your fingers as shown in the illustration so that the clutch cover adjusting ring can turn fully counterclockwise. After fixing the adjusting ring in this position, release the pressure on the diaphragm. The adjusting ring must be held in the indicated position until the self-adjustment of the clutch pedal is completed.
Check and, if necessary, reset the clutch pressure plate.

2.
CAUTION: Inspect the flywheel for nicks and signs of overheating. Replace flywheel if worn or damaged.
CAUTION: Inspect the clutch release bearing for damage or wear. Replace if necessary.
CAUTION: Inspect the pilot bearing for damage or wear. Replace if necessary.
Clean the contact surfaces of the parts.
3.
WARNING: Install the clutch disc with the markings 'TRANSMISSION SIDE' reversed (gear side) to the clutch cover.
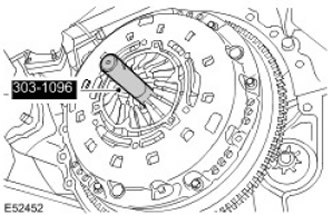
CAUTION: Use the special tool to align the parts.
CAUTION: Tighten the bolts gradually in a criss-cross pattern.
NOTE: Lock the flywheel.
Install the clutch disc and pressure plate. Tighten the bolts with a tightening torque of 25 Nm.

4. Install the gearbox. For more information refer to Gearbox (37.20.02.99)
Comments on this article