Removing
1. Disconnect the wire "masses" from the battery.
For more information, see the chapter: Disconnecting and connecting the battery (414-01 Battery, Battery Mount and Wires, General Procedures).
2. Remove the control panel.
For more information, please refer to the chapter: Control Panel (501-12 Instrument panel and console, Removal and installation).
3.
NOTE: Clips should be discarded.
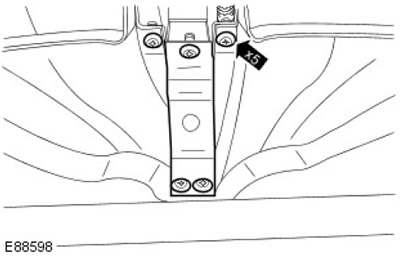
Remove the audio unit support bracket. Remove and discard 5 clamps.
4. Remove the left glass air duct. Remove clamp.
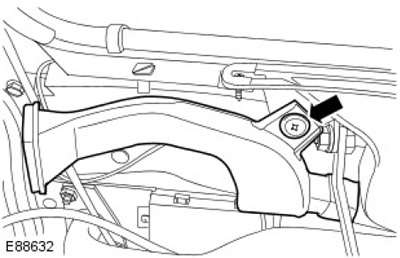
5. Release the left glass heating air duct. Remove screw.
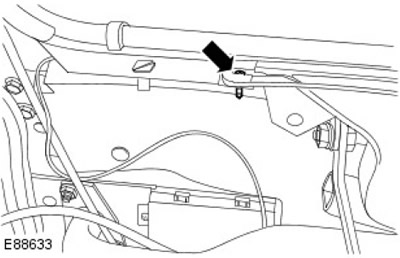
6. Remove the left glass heating air duct. Remove clamp.
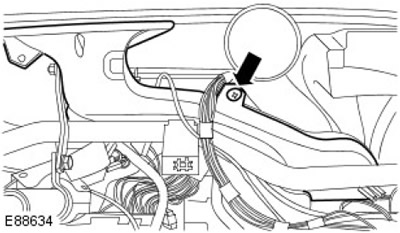
7. Remove the right glass air duct. Remove clamp.
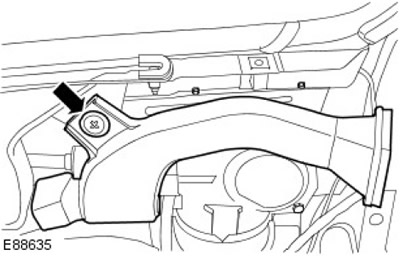
8. Release the right glass heating air duct. Remove screw.
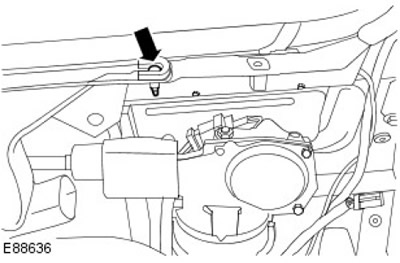
9. Remove the right air duct. Remove clamp.
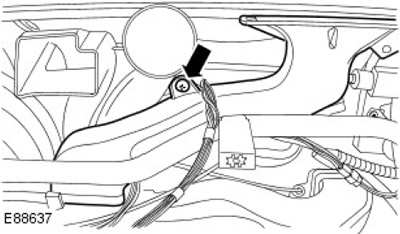
10. Remove the central deflector.
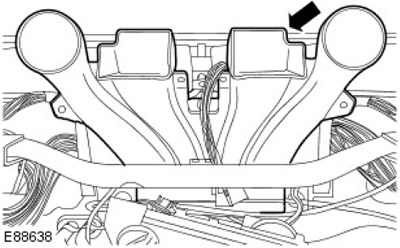
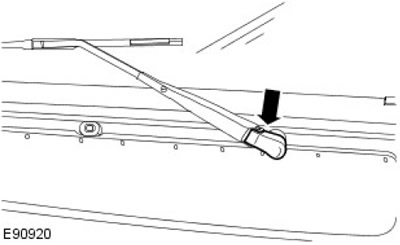
11.
NOTE: Right side shown, left side similar.
Install the cover onto the windshield wiper arm nut.
12.
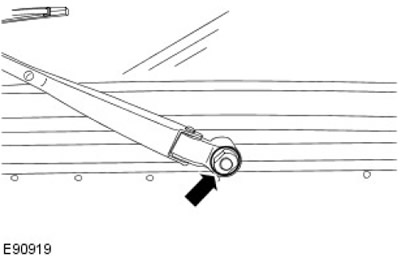
NOTE: Right side shown, left side similar.
Remove the windshield wiper motor. Remove the nut.
13.
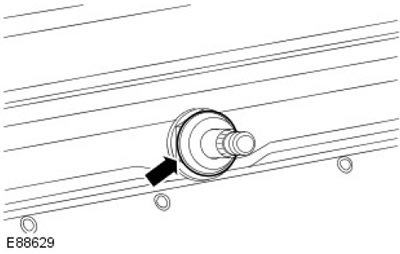
NOTE: Right side shown, left side similar.
Install the cover onto the windshield wiper spindle nut.
14.
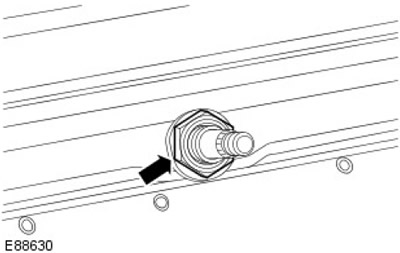
NOTE: Right side shown, left side similar.
Install the nut on the windshield wiper spindle.
15.
NOTE: Right side shown, left side similar.
Remove and discard the foam seal on the windshield wiper spindle.
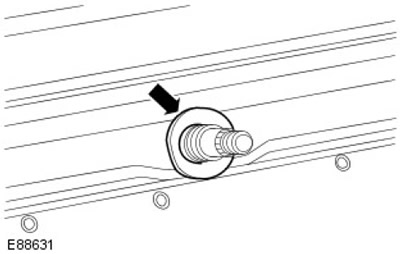
16. Remove and discard the 2 connecting straps.
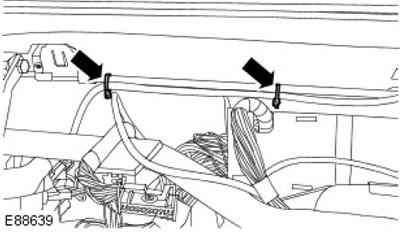
17. Disconnect the electrical connector for the windshield wiper motor.
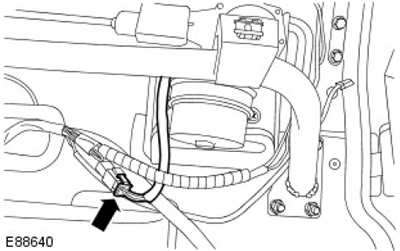
18. Mark the installation position of the element before removing it.
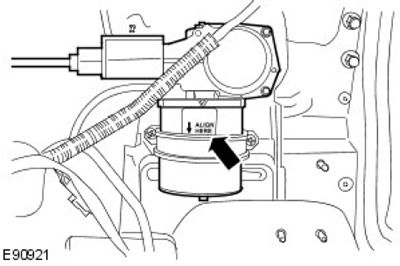
19. Remove the windshield wiper motor. Remove two screws.
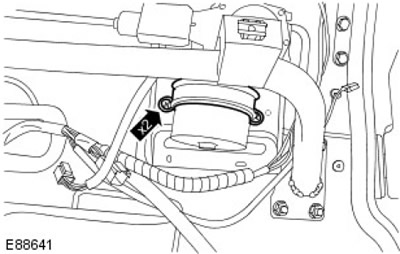
20. Remove the windshield wiper motor.
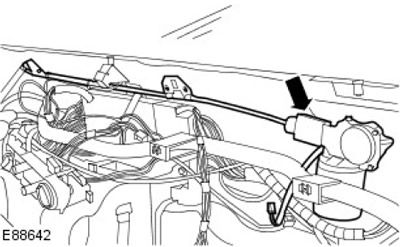
Installation
1. Replace the elements in reverse order.
2. Install the windshield wiper motor to its original position.
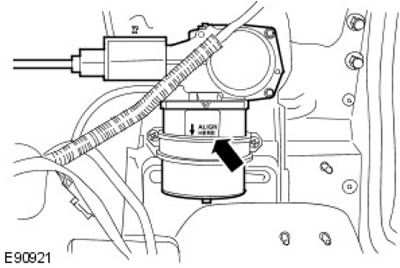
3. Tighten (tightening torque 5 Nm).
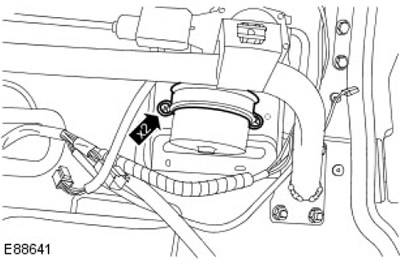
4. Connect the wire "masses" to the battery. For more information, see the chapter: Connecting the Battery (414-01 Battery, Battery Mount and Wires, General Procedures).
Comments on this article